((I am finding Blogger to be annoyingly un-coperative these days. I am due for a computer upgrade, and perhaps a new OS and and maybe Chrome will sort it out.))
Sunday, 20 October 2013
Fun with foam
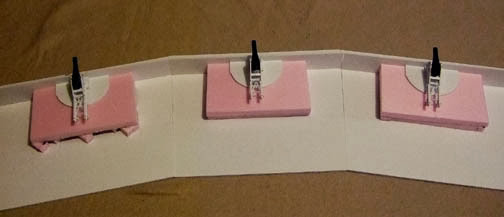
I started building up the works between the guns rather like the hills between the positions at Fort Fisher. Since I have three gun positiions, the left flank will have a hill attached and the right will have a small hill section that can be set next to one, two or three sections of the gun positions.
The transition between two sections is formed of two layers of the pink foam, and will be faced with card cut to an exact profile. This will allow the sections to be placed next to each other in random order with a smooth transition from one to the next. The foam here has been rough cut with a utility knife and hot glued in place. Once the hills have been "bulked-out" in foam I will take my hot-wire cutter to do the basic contours, followed by a 'surform' tool and some filler.
Sunday, 6 October 2013
Progress on the guns!
Finally have some progress on the HBG gun carriages and gun positions. The barrels have been cast in Alumlite. See the previous post or my flickr page for the details of the mould. Not the best or highest tech mould making, but I got a couple guns out of it to use. The brown spots are Tichy Train Group rivets, drilled and glued into place. I have a little do-dad for each gun for the elevating mechanism.
When I was building the carriages I made a flat out of art board to set the various elevations of the platform. The pivot was the highest and there are two steps for the runners and the wheels. Here I began work on a gun position. There will be three gun platforms, with sand/turf hills between each rather like the land wall at Fort Fisher.
So lots of work to do yet!
Subscribe to:
Comments (Atom)


